


How to Change Your Oil
Changing your own oil is the cheapest way to perform the most important piece of maintenance on your car, truck, or SUV. It’s also a great way to keep a close eye on the state of the rest of your vehicle, giving you the chance to check your brakes and other fluids as well as look for rust and other damage, every time you get under for an oil change. What if you’re not handy with a wrench and aren’t sure what to do? No problem, here’s how to change your own oil.
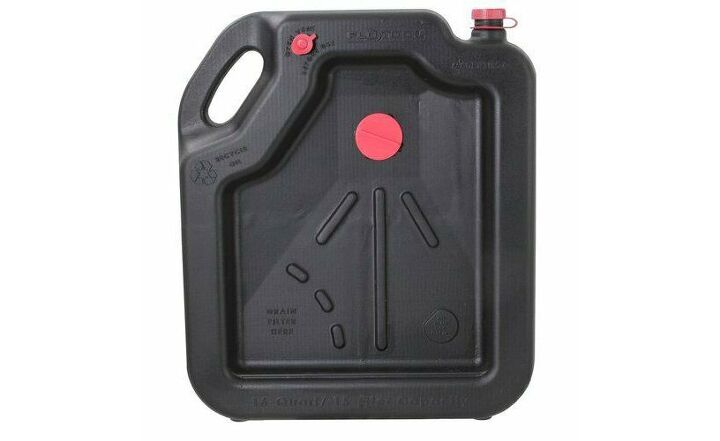
Oil Drain Pan
There are a few tools you're going to need, so we'll start with those. The most important is an oil drain pan to catch the used oil. Look for a pan that sits flat and has a large opening to catch the oil as well as a secure lid. A grate over the part where the oil drops into the pan is handy because it will catch the drain plug before it falls into the container of hot oil.
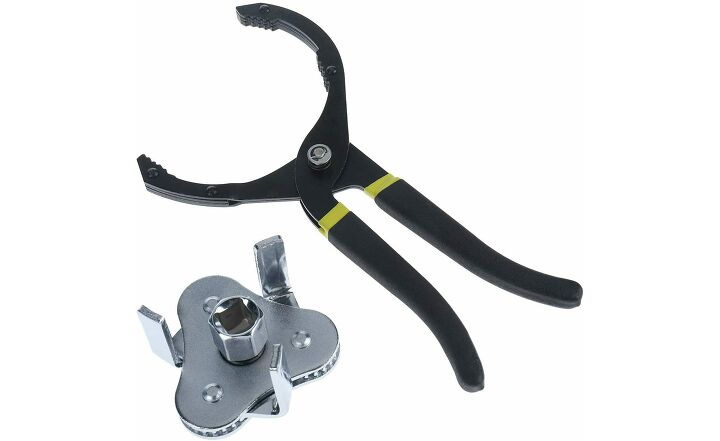
Oil Filter Wrench
You might need an oil filter wrench to remove the old filter. Spin-on filters can be overtightened making them tough to remove, and an oil filter wrench makes it easy. If you have a tough time with a new jar of pickles, an oil filter wrench is probably a good idea. Never use this wrench to put the new filter on. If you have a cartridge-style filter, which is accessed from the top of the engine, you'll need an adjustable wrench that opens to at least 1 1/2-inches.
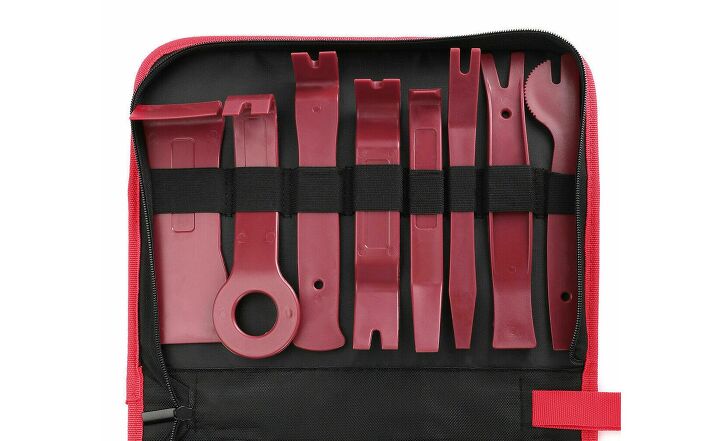
Trim Clip Removal Tool
Most modern vehicles have plastic splash shields underneath to improve aerodynamics. They're in the way come oil change time, so you'll need to remove or at least partially remove the shields. While some use a normal hex head bolt, most use plastic clips and a clip removal tool set is the only way to save you serious grief and expensive fastener replacement.
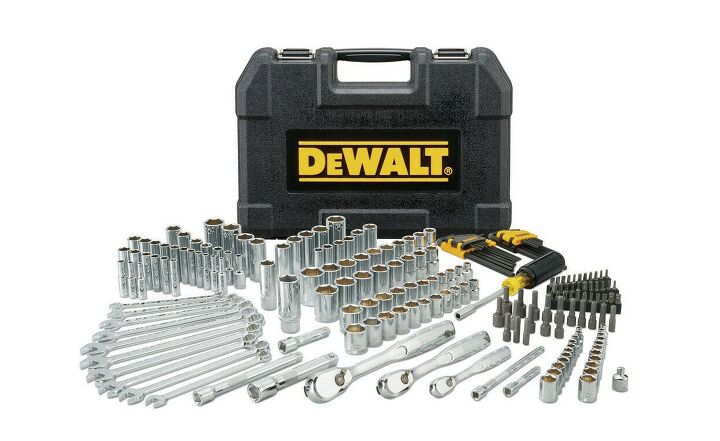
Mechanic's Socket Set
Your drain plug is normally a common socket size, often 17 mm or similar. Most socket sets should cover this size and the other likely sizes, so your current socket set should do.
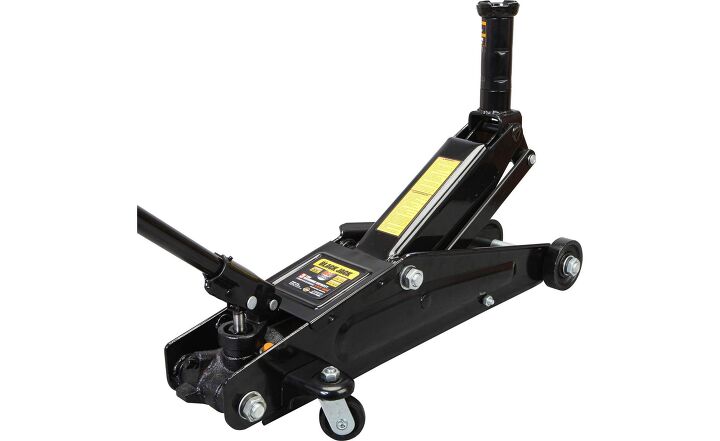
Floor Jack and Accessories
You'll need a floor jack and jack stands, or a set of ramps, unless you can slide easily under your truck or SUV. Nitrile mechanics gloves are also a good thing to have if you don't want oil on your hands. You'll also want some oil dry powder to catch any spills.
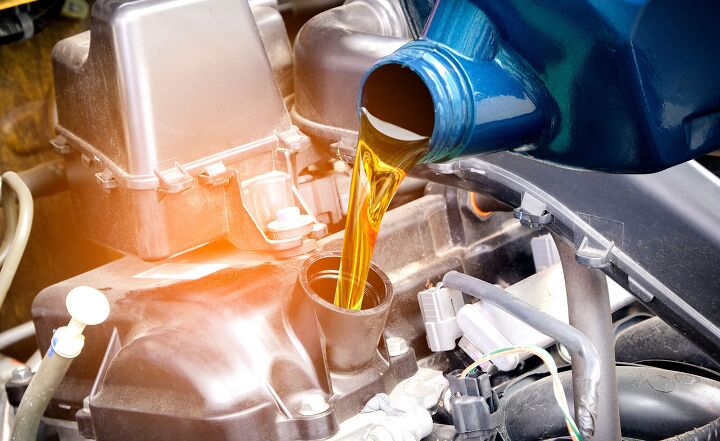
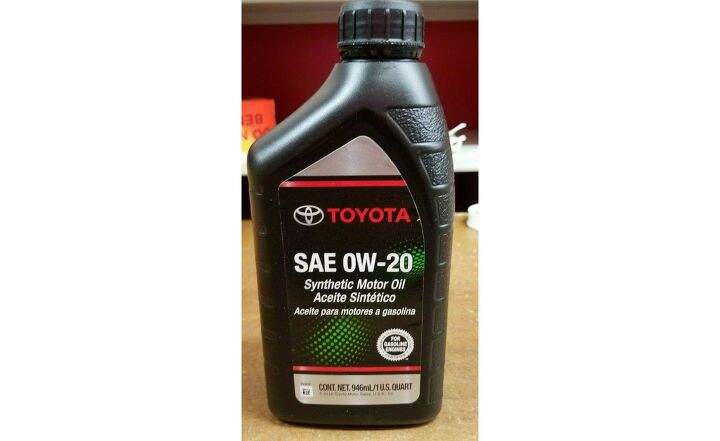
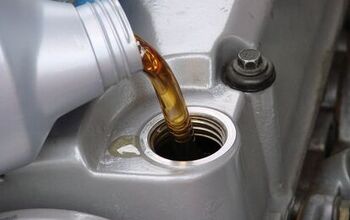
Oil
Next up, the new parts. The right grade of motor oil will be in your owner's manual, in the maintenance section. It should also be written on your oil cap. Look for something like 0W20 or 10W40 on the cap for the right grade of oil. Most new cars and trucks use synthetic oil, but older models may use conventional motor oil. Your owner's manual will tell you.
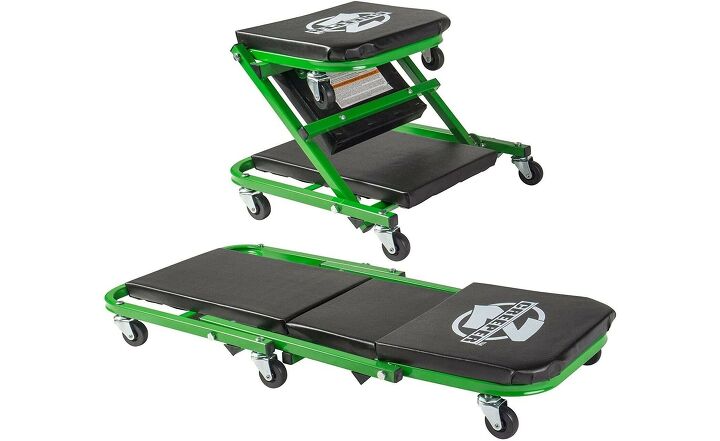
Garage Creeper
For the filter, a quick search for your make, model, year, and engine size should tell you the filter size you need. Oil filters are important, so look for established brand names and features like anti-drainback valves that help keep your engine lubricated at start-up. Some vehicles have a small washer called a crush washer that goes between the drain plug and the oil pan. These are not reusable, so if your engine has one, you'll need to keep some on hand for oil change time. Not replacing them can mean leaks or lead to you overtightening the plug and stripping it or ruining the oil pan.
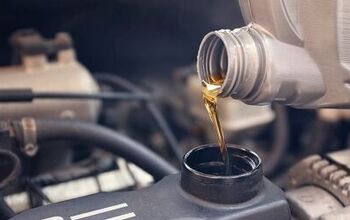
Now it's finally oil change time. Changing oil is easier when the oil is warm (especially if it's cold outside) because it flows more quickly and more easily, so if the vehicle is cold, start the engine and let it run for a few minutes. If the vehicle is already up to temperature, you don't need to do this, but remember that running temperature for motor oil is hot enough to cause serious burns.
If you've got a tall truck or SUV, then you might be able to skip this next step, but jack the front of your vehicle up in the air (or drive onto your ramps) then place jack stands in the appropriate places. Check your owner's manual for the right jack and stand points for your ride.
Pop the hood and open your oil fill cap. It's a good idea to do this first because it lets the oil drain more easily and it ensures you can open it to put fresh oil in.
For the less experienced DIY mechanic, we recommend putting your fresh and clean new oil containers on the driver's seat of the vehicle at this point. It's a good way to make sure you don't start the engine when there's no oil in it and causing catastrophic failure.
With your vehicle in the air, slide underneath with your tools and drain pan. If you don't want to lie on a dirty floor, a shop blanket or a wheeled creeper makes this cleaner and more comfortable.
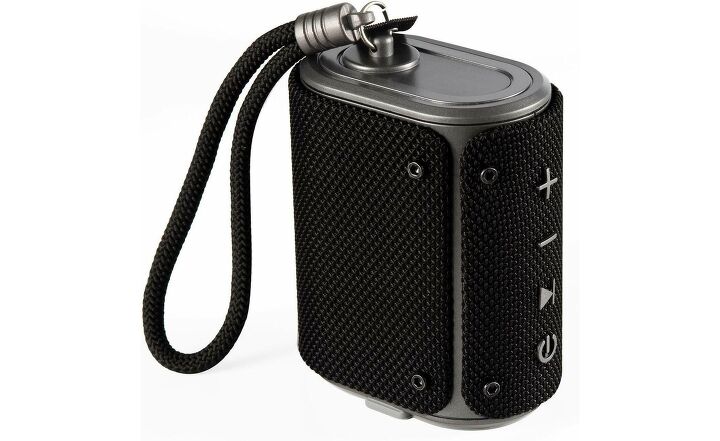
Bluetooth Speaker
Remove any splash shields that block the filter. For the complicated plastic clips, insert the tool into the flat slot, pull the center out, and then use the wider part of the tool to remove the entire clip. You do need these clips, and the shields, so be careful.
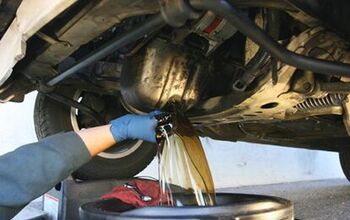
Put your oil catch pan under the drain plug and remove the plug slowly. If it's your first time changing the oil on this vehicle, be ready to move the pan quickly until you know where the oil is going to fall.
Now you've got about 10 minutes to wait while the oil drains. You can sit under the vehicle and listen to a podcast on your Bluetooth speaker or you can leave and come back. We usually just wait, and take a look at other underbody components like ball joints, sway bar links, and brake pads, to make sure everything seems mechanically sound.
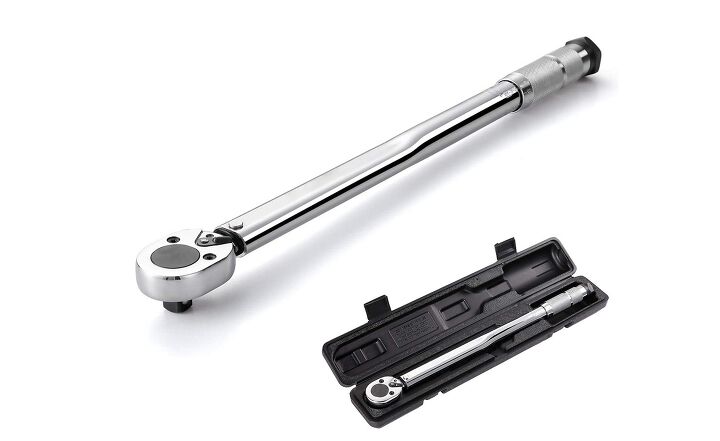
Torque Wrench
Once the oil has drained, wipe the drain plug with a rag, put the new crush washer on the plug, and replace the plug. These plugs need to be snug, rather than tight. 30 lb-ft is a common max figure if you want to use a torque wrench.
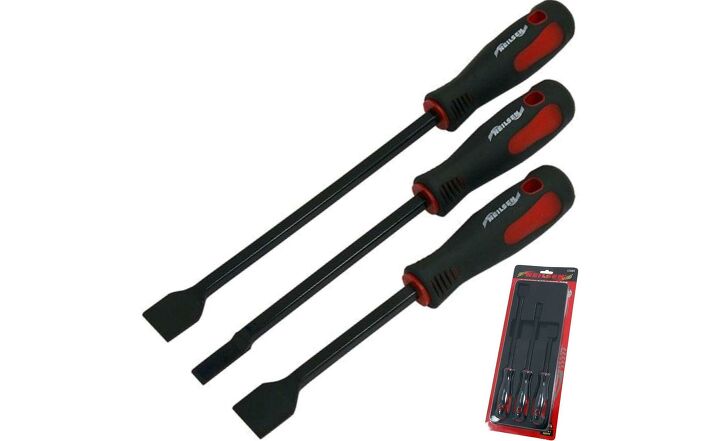
Gasket Scraper
Now it's time for the oil filter. Use the filter wrench if you need to, and be aware that the filter is still full of oil. So it will probably run down the filter and drip. Put the old filter on the catch pan to drain and examine the mating surface of the old filter to make sure the gasket that goes between the engine and filter has stayed with the filter. If you're not looking at a shiny flat surface on the engine block, you'll need to scrape off the old gasket or the new filter will leak.
Cleaning Up
Fill your new filter with clean oil, and brush a light layer of fresh oil over the gasket before attaching the filter to the engine. Filling it is good for start-up, and the light coating of oil will stop the gasket from sticking next time. If your filter attaches at the top of the engine, or is mounted horizontally, skip the oil-filling, as that will just give you a big mess.
With the filter hand-tight, you can now start to pour in your fresh oil. After you add the first quart, take a look under the vehicle to make sure you haven't left anything loose and aren't pouring that oil onto the ground. If everything is dry, add the rest of your oil (the right amount is in your manual).
Replace the oil fill cap and start your engine. Let it run for a minute, again checking for leaks. If there aren't any, then replace the splash shields and take your vehicle off of the ramp or jack stands. When the vehicle is level, check the oil using the dipstick and add more if required.
You're almost done. Using a funnel, pour the old oil into a container, usually your now-empty fresh oil containers, and dispose of it properly. Depending on where you live, this might mean taking it back to where you bought it or you may have to take it to a hazardous waste depot. Whatever you do, do not just dump used oil, it is extremely damaging to the environment.
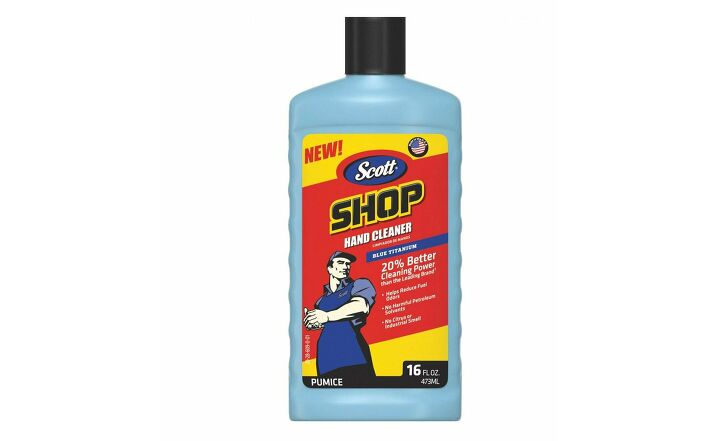
To get that old oil and grime off of your hands, arms, and probably your face, use a mechanic's hand cleaner. Ones with pumice are particularly effective. Use the oil dry powder on any oil you've spilled, and store your catch can keeping in mind that oil will seep out of it, somehow, no matter what you do.
Congratulations!
Now you're done your first oil change, and it went one of two ways. You'll either keep doing them, or you've already booked a dealer appointment for the next one. Either way, you've now successfully changed your own oil.
We are committed to finding, researching, and recommending the best products. We earn commissions from purchases you make using the retail links in our product reviews. Learn more about how this works.
Feature Photo by Seasontime/Shutterstock.com
Evan moved from engineering to automotive journalism 10 years ago (it turns out cars are more interesting than fibreglass pipes), but has been following the auto industry for his entire life. Evan is an award-winning automotive writer and photographer and is the current President of the Automobile Journalists Association of Canada. You'll find him behind his keyboard, behind the wheel, or complaining that tiny sports cars are too small for his XXXL frame.
More by Evan Williams


Comments
Join the conversation